
● Start · 10 minutes
Quick start
both apps running.
The shortest way from the zip to the wallet on a simulator and the admin panel in Chrome, connected to your own Firebase project. It assumes Flutter and the Firebase CLI are already installed; if not, do Requirements first.
01Before you start
flutter doctorshows no red errors for the platform you want to try.firebase --versionandflutterfire --versionanswer.- You have a Firebase project. If not: console.firebase.google.com → Add project. The free plan is enough to look around; the full installation needs Blaze.
Why Firebase first?
The package does not contain anyone else's Firebase settings. Both apps need lib/firebase_options.dart, which FlutterFire writes for your project in step 3. Until then the apps do not compile.
02The ten minutes
- Unzip and open a terminalPut the folder somewhere without spaces, for example
~/projects/superwallet. - Install packages in both apps
cd crypto_wallet flutter pub get cd ../crypto_wallet_admin flutter pub get - Connect both apps to your Firebase projectLog in once, then pick your project when FlutterFire asks.
firebase login cd crypto_wallet flutterfire configure --platforms=ios,android,web cd ../crypto_wallet_admin flutterfire configure --platforms=web - Create the app key fileThe wallet reads its API keys from
.env. An empty copy of the template is fine for a first look.cd crypto_wallet cp .env.example .env - Run the walletStart an iOS simulator or Android emulator first (or add
-d chrome).cd crypto_wallet flutter run --dart-define-from-file=.env - Run the admin panelIn a second terminal:
cd crypto_wallet_admin
flutter run -d chrome
03What you should see
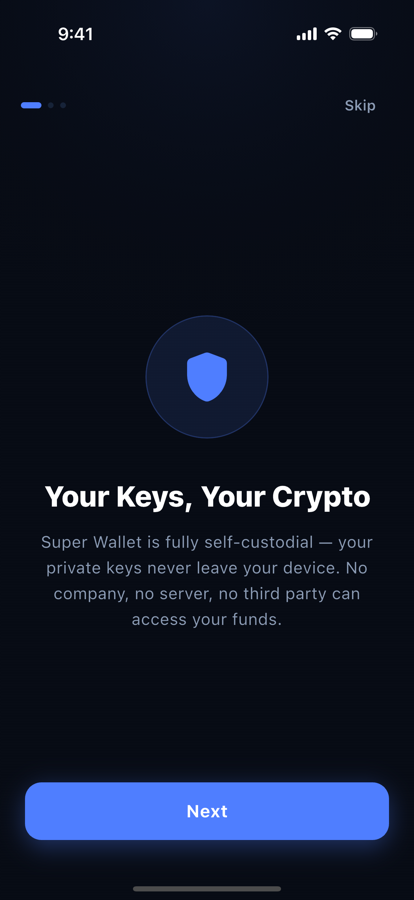
- The wallet opens on onboarding. Create a test wallet and write the seed phrase down; it is a test wallet, but treat it like a real one.
- Swaps show a Simulated badge. That is expected: live quotes need the 0x or 1inch key (Configuration).
- The admin panel shows the Sign In screen. You cannot sign in yet: the first admin is created during the full installation (Installation → First admin).
Next
Continue with Installation: rules, Cloud Functions, the first admin and your keys. Plan about 45 minutes.