
Installation
app, admin, Firebase.
From the unzipped folder to a working wallet, a working admin panel and a deployed backend, all on your own Firebase project. Plan about 45 minutes the first time.
01Unzip and install packages
- UnzipUse a path without spaces. You get
crypto_wallet/andcrypto_wallet_admin/. - Install Flutter packages
cd crypto_wallet flutter pub get cd ../crypto_wallet_admin flutter pub get - Install the backend packages
cd crypto_wallet/functions
npm ci
npm run build
Open each app folder in its own editor window. Every box on this page starts with the cd it needs, so you can always paste from the unzipped folder.
02Create your Firebase project
- Create the projectconsole.firebase.google.com → Add project, for example
mywallet-prod. - Switch to BlazeProject settings → Usage and billing → Blaze. Set a budget alert while you are there.
- Turn on Email/Password sign-inBuild → Authentication → Get started → Email/Password. Admins sign in this way.
- Create the databaseBuild → Firestore Database → Create → production mode. Pick a location near your users; it cannot be changed later.
- Log the CLI in
firebase login
03Connect the wallet app
If you already know your own bundle ID, change it first (Rebranding → Bundle IDs); FlutterFire registers the app under the current one. You can also run this step again later.
cd crypto_wallet
flutterfire configure --platforms=ios,android,web
# point firebase deploy at your project
rm -f .firebaserc
firebase use --add      # pick your project, alias: default
This writes lib/firebase_options.dart, android/app/google-services.json and ios/Runner/GoogleService-Info.plist. All three are in .gitignore; keep them out of public repositories.
04Connect the admin panel
cd crypto_wallet_admin
flutterfire configure --platforms=web
rm -f .firebaserc
firebase use --add      # same project, alias: default
Then add the domain you will host the admin on under Firebase → Authentication → Settings → Authorized domains. localhost is already there.
05Rules, indexes and Remote Config
Open crypto_wallet/remoteconfig.template.json first. fee_wallet_address and pro_crypto_payment_address must be empty or wallets you control. You will set them properly in the admin later.
cd crypto_wallet
firebase deploy --only firestore:rules,firestore:indexes,remoteconfigDeploying remoteconfig replaces the live Remote Config with the template. After the first setup, change settings in the admin panel instead, or you overwrite them.
06Cloud Functions
All functions run in the europe-west1 region. The app and the admin call that region, so keep it unless you change it everywhere (search the code for europe-west1).
- Create the backend settings fileFill only what you use; everything may stay empty for the first deploy. The table is in Configuration → Backend settings.
cd crypto_wallet/functions cp .env.example .env - Set the two secrets
OWNER_UIDandCLAUDE_API_KEYlive in Google Secret Manager, not in.env. Delete theOWNER_UID=line fromfunctions/.env, then set both. Don't know your UID yet? Typeunsetand change it after the first login. Not using Portfolio Brain? Typeunsetfor the second one too.cd crypto_wallet firebase functions:secrets:set OWNER_UID firebase functions:secrets:set CLAUDE_API_KEY - DeployThe first deploy takes a few minutes and may ask to enable Google Cloud APIs. Answer yes.
cd crypto_wallet
firebase deploy --only functions
Firebase console → Functions should now list 32 functions, among them bootstrapFirstAdmin, publishAdminRemoteConfig, getRuntimeConfigJson and recordFeeEvent.
07Create the first admin
Only accounts listed in the admin_users collection can enter the admin panel. The first one is created by bootstrapFirstAdmin, which works exactly once.
- Create your loginFirebase console → Authentication → Users → Add user, with your email and a strong password.
- Make it a super adminReplace the project ID and the email:
The answer containscurl -X POST "https://europe-west1-<your-project-id>.cloudfunctions.net/bootstrapFirstAdmin" \ -H "Content-Type: application/json" \ -d '{"data":{"targetEmail":"you@example.com"}}'"success":true, youruidand"role":"superAdmin". Copy the uid. - Save your UID as the owner
cd crypto_wallet firebase functions:secrets:set OWNER_UID # paste your uid firebase deploy --only functions:setAdminClaim - Sign in and turn on the authenticatorRun the admin (
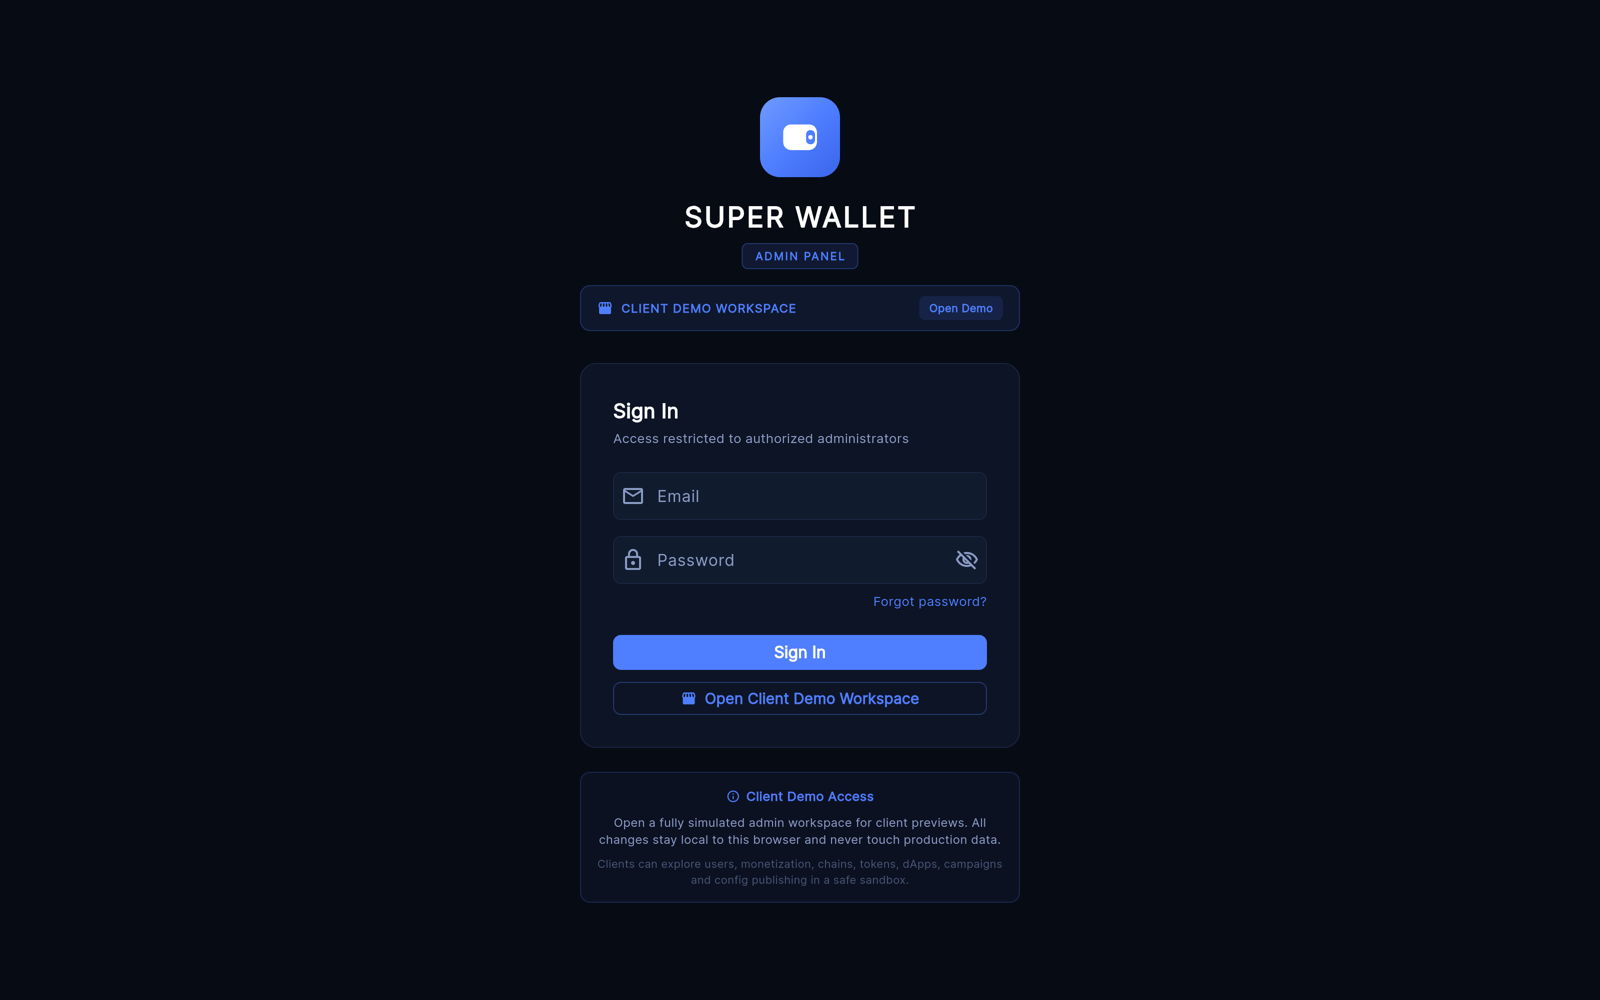
flutter run -d chrome), sign in, then Security → Set Up MFA. See Admin → Security.
08Point the wallet at your admin
Required The wallet also downloads its settings from https://<your-admin-site>/config.json. The address is written in the code. Open crypto_wallet/lib/core/config/app_config.dart and change kAdminConfigUrl:
const String kAdminConfigUrl = 'https://<your-admin-site>/config.json';Use your admin's hosting address (for example https://mywallet-admin.web.app, see Deployment). An empty string '' means Remote Config only. Change the same address in crypto_wallet_admin/lib/screens/dashboard/overview_tab.dart (_configUrl) so the Overview status card checks your site.
09Checklist: is everything connected?
- Firebase console → Functions lists 32 functions in
europe-west1. - Firebase console → Remote Config shows an
admin_configparameter. - The wallet starts without a Firebase error in the terminal.
- You can sign in to the admin panel and pass the authenticator step.
- After hosting the admin:
https://<your-admin-site>/config.jsonopens and returns JSON.